December 4, 2025
150mm Concrete Testing Cube Mould @ Puchong
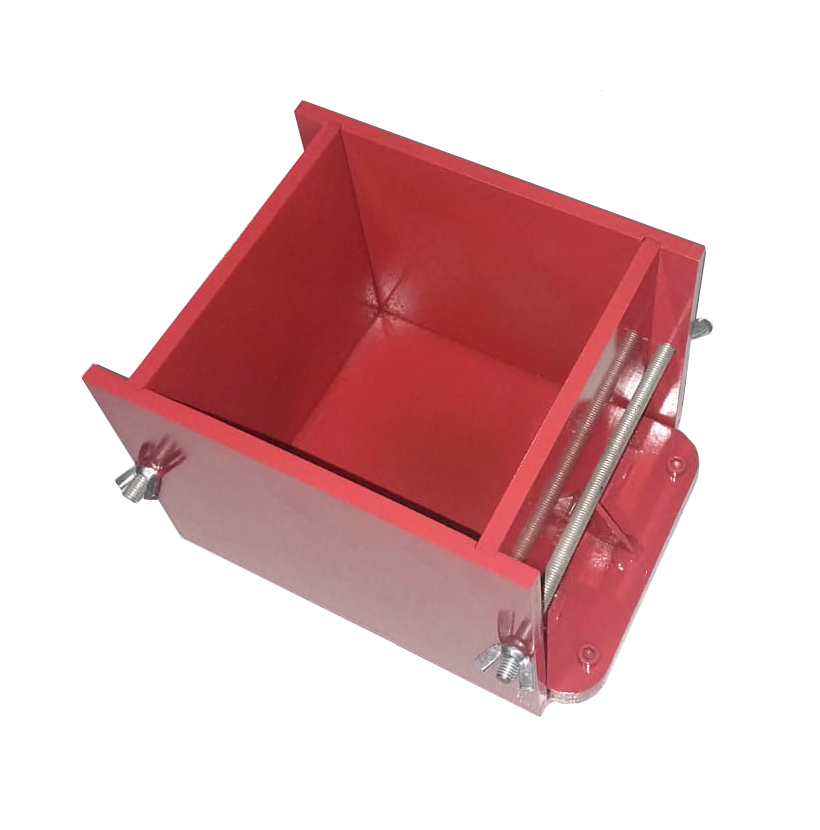
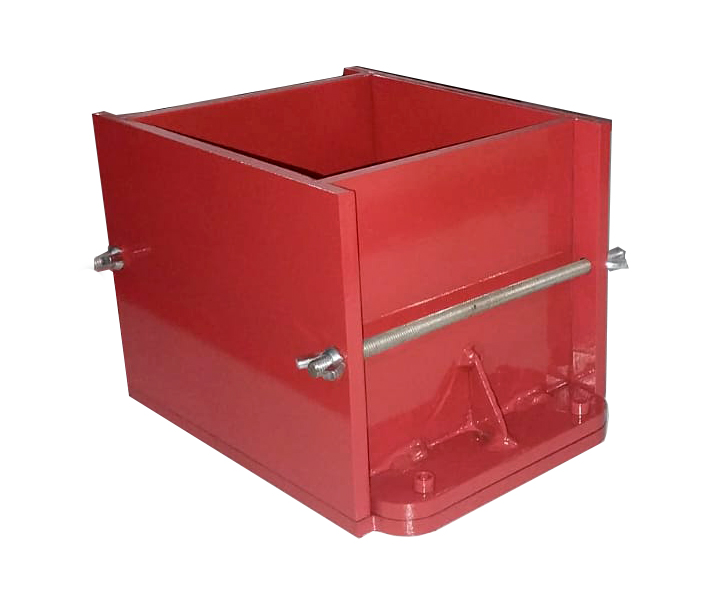
150 mm Square Concrete Test Cube Mould @ Puchong
Product Description:
Our 150 mm square concrete test cube moulds are designed for precision and durability in concrete testing laboratories. Manufactured from high-quality steel or polypropylene, these moulds ensure accurate and consistent cube dimensions for compressive strength testing. Their smooth internal surfaces facilitate easy de-moulding and minimize the risk of cube damage. Suitable for standard laboratory testing, these moulds conform to international standards for concrete cube testing.
Technical Specifications:
- Cube Size: 150 mm × 150 mm × 150 mm
- Material: High-grade steel (for long-term durability)
- Wall Thickness: 3 mm (steel)
- Finish: Smooth internal surface for easy de-moulding
- Standard Compliance: ASTM C109 / BS EN 12390-1
- Stackable Design: Yes, for efficient storage
- Weight: Approx. 3 kg per steel mould
How to Use a 150 mm Concrete Test Cube Mould
1. Clean the mould
- Make sure all surfaces (inside walls and base) are clean.
- Remove dried concrete, dust, and debris.
2. Apply mould oil / release agent
- Lightly brush or spray a thin coat of release oil on all internal surfaces.
- This prevents the concrete cube from sticking and makes demoulding easier.
- Do not apply too much — thin layer only.
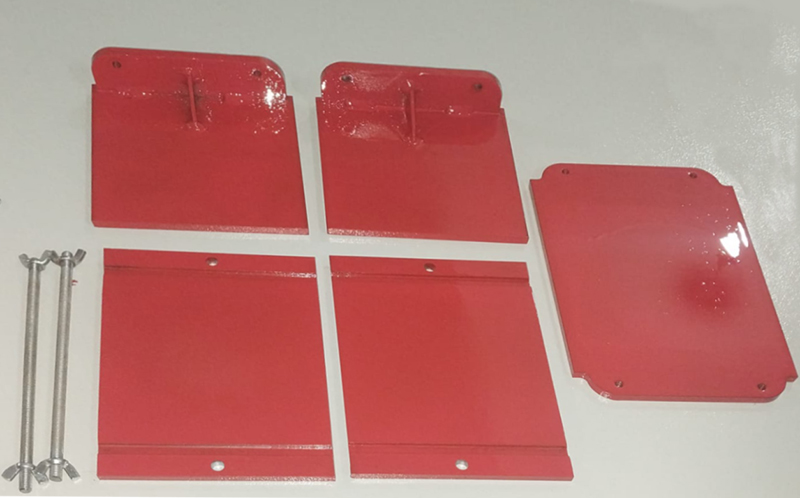
3. Assemble and tighten the mould
- If your mould has removable sides or a baseplate, assemble it properly.
- Tighten bolts or clamps so there are no gaps or leaks.
4. Fill the mould with fresh concrete
- Concrete must be placed in 3 layers (for a 150 mm cube).
- Each layer should be approximately one-third of the mould height.
5. Compact each layer
Use a tamping rod or vibrating table:
If using tamping rod
- Rod each layer 35 times in a uniform distribution.
- Make sure to penetrate slightly into the layer below.
If using vibrating table
- Vibrate until no more air bubbles appear.
- Do NOT over-vibrate (can cause segregation).
6. Level the top
- After the final layer, use a trowel or straightedge to strike off the surface.
- Make the cube level and smooth.
7. Label the cube
Write on a tag or directly on the cube mould:
- Date
- Batch number
- Location (if site testing)
- Mix details
8. Cover the mould
- Cover the top with a plate, plastic sheet, or damp cloth.
- Prevent moisture loss — curing starts now.
9. Initial curing (24 hours)
- Keep the mould in a shaded area at 20–25°C if possible.
- Do not disturb it.
- Good curing = accurate strength results.
10. Demould after 24 ± 2 hours
- Loosen bolts/clamps.
- Remove the sides gently.
- Take the cube out carefully without damaging the edges.
11. Final curing in a water tank
- Place the cube in a curing tank at 20°C water until the test age:
- 7 days
- 28 days (standard)
- Or as required
12. Test the cube
- Test in a compression testing machine at the required age.
Concrete cube test mould Puchong
Summary (quick guide)
- Clean mould
- Oil mould
- Assemble
- Fill in 3 layers
- Compact each layer
- Level the top
- Label
- Cover
- Leave 24 hours
- Demould
- Cure in water
- Test
Applications:
- Laboratory testing of concrete compressive strength
- Quality control in construction materials
- Educational and research purposes